Here’s my simplified process for editing a night picture. First, when you take the picture, expose for the highlights. Adjust the exposure compensation so that the brightest lights are just clipping. If you have bright light sources in the picture you can let the centre burn out but lit objects should not be clipped. You can never recover burned out highlights. My original exposure looks like this.
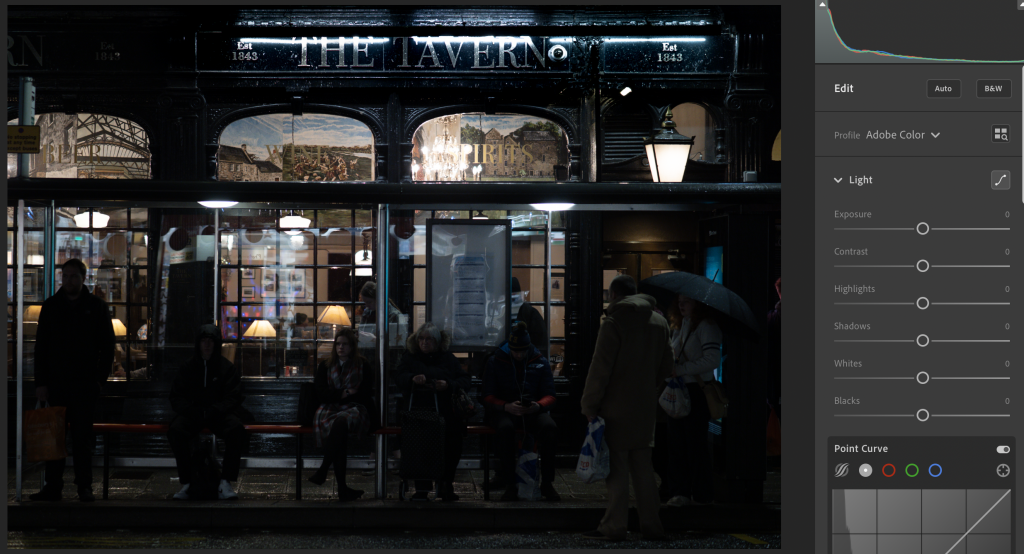
You can see that I have exposed for the lamps inside the pub. Everything else is a bit dark but that is OK. The camera settings were ISO500. F/1.2. 1/100 sec. The first thing I am going to do is reduce the highlights, increase the shadows, increase the Exposure and the Whites so my brightest areas are just clipping and I can see all the detail in the darker areas.
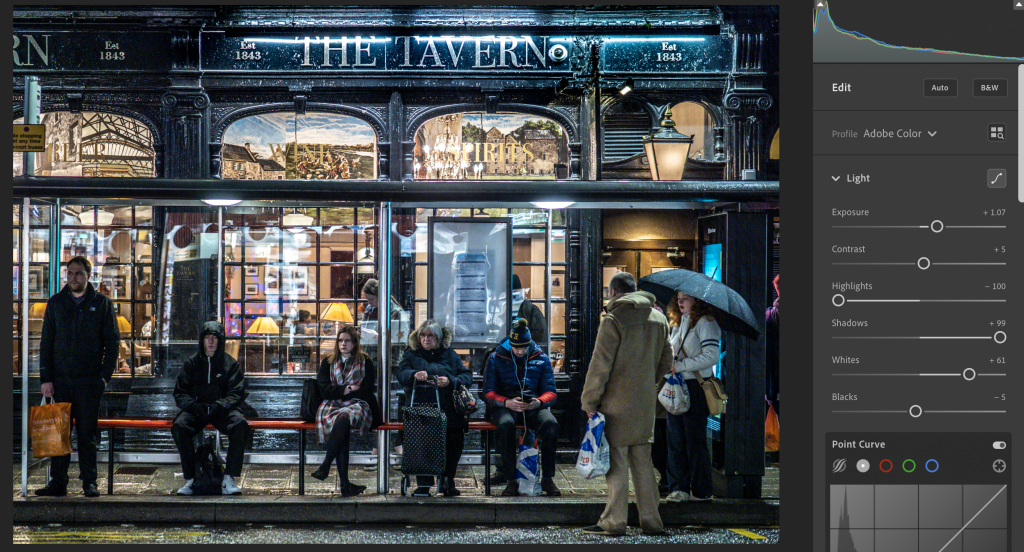
That looks better already. But I can see that the colour balance is off. It looks a bit too blue. I’m going to use the “dropper” to pick an area that I think should be neutral grey. I will use the horizontal section of the roof of the bus shelter. At this point, I see that the picture is slightly squint so I will use the Auto Level adjust feature in Lightroom to fix it.
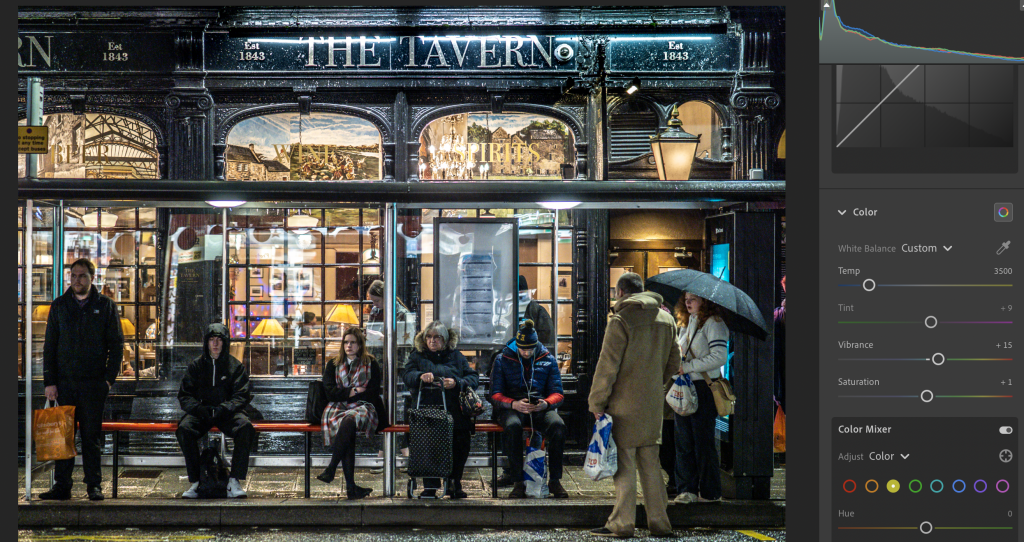
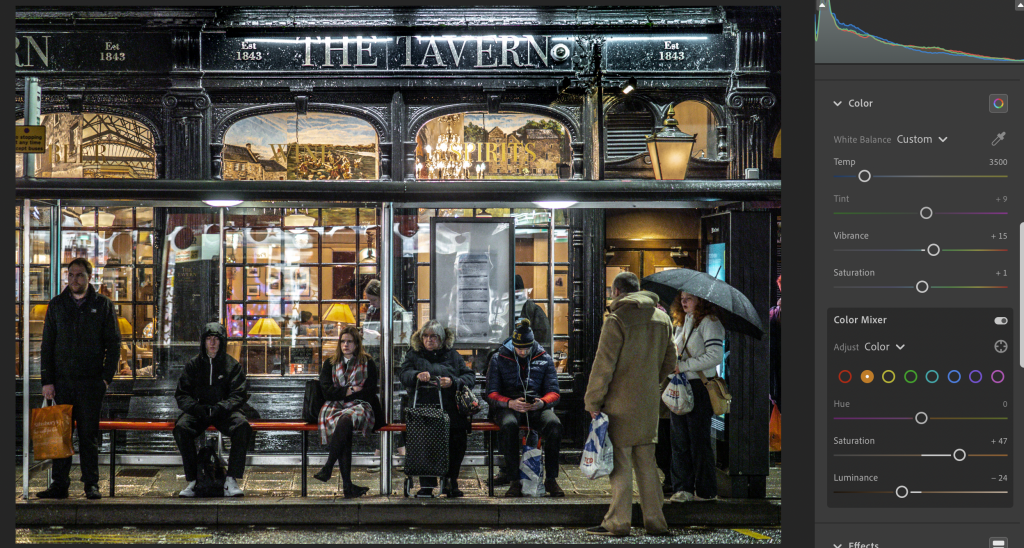
Getting better – but there is still a bit too much blue in the area around “The Tavern” and I think the interior could also be warmer. I’m going to use the Color Mixer to reduce the saturation of the blue while increasing the saturations of the Oranges and Yellows. I will also reduce the brightness of the Orange and Yellow.
To finish off, I’m going to add a gradient to the top of the picture and reduce the brightness of the area around “The Tavern”. I will also apply some noise reduction just to reduce some of the noise in the areas of the picture that we have brightened up.

Job done! That was a nice simple image where almost all the adjustments we made were global. More complicated images – with bigger variations in luminosity or colour temperature – may need local adjustments using a brush. Maybe we’ll look at an image like that in a later post.
